What do you do with small scraps, or "crumbs" as some people call them?
I am a hoarder, as my husband calls me, of fabric. I love and breathe fabric! I can not look at a piece without touching it or wanting to buy it, if available and affordable. Way back when I started sewing my own clothes, I started thinking what should I do with the left over fabric?
Here comes my two aunts to the rescue. They made a lot of their own clothes if not all of them. One aunt suggested I save my pieces and coordinate them in color so I could piece a blouse, jacket or pants. After she said this, she showed me a top that had 20 pieces! She made it from scraps of her previous projects. It was really nice. I was very impressed that she had the mind set and patience to piece together a pattern that would look nice. The color scheme was great and she used a lot of top stitching so that the pieces looked like part of the design. I loved it! But, I did not want to put that much thought and effort into the design and all that top stitching!!! After all, I was just a teenager and patience was not one of my virtues.
Then I went over to the other aunt's house and she was working on a "crazy" quilt. I inquired as to what pattern she was using and why she had so many colors and sizes of fabrics. She told me when she makes an outfit, the left over scraps go into her quilt scrap bin saving them for a "crazy" quilt. I was fascinated by the twists, turns, colors and designs of the various fabrics and the fact there was very little planning other than which fabric you liked next to which fabric. I WAS HOOKED!!!
My fabric saving obsession started then. It was my aunt's fault for introducing me to saving the smallest scraps. Larger scraps for sewing together into a pieced or "crazy" quilt and smaller scraps for applique. I knew about quilting squares but had never heard of "crazy" quilting . . .this was before the internet and the abundance of quilting magazines that we have now.
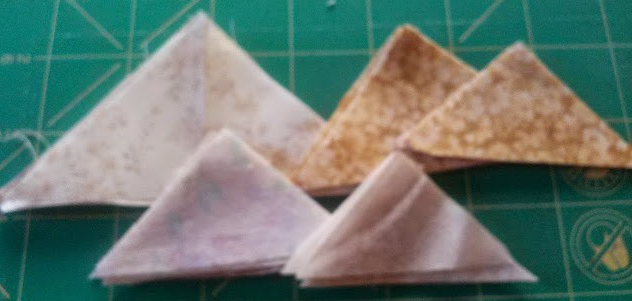
Today I would like to show you a sample of the pieces that I acquire while cutting fabric for customers.
These are some pieces that I have left over . . .
How I trim these down is what I will be showing you today. In the picture above right I had just finished cutting hexagons. You can clearly see some triangles, diamonds and some strips that can be cut from these pieces. But what about pieces that are not so clearly defined? Here is an example . . .
I found this piece and was thinking to cut a long strip across the top. Then I noticed that if I used my
quarter square ruler I could cut a fairly large triangle. I use two rulers when cutting difficult triangles. The quarter square triangle and half square triangle ruler. After I cut this piece into a quarter square triangle I used the half square ruler because presently I am trying to cut a lot of half square triangles.
This picture shows a piece that has a tear in it . . .
Too bad it would have made a very nice large triangle. No matter, just move the half square ruler over a bit and cut away.
Here is a circle that didn't quite meet standards and I don't need a circle but need a triangle in this fabric. . .
Line it up with the edge of the circle and cut both sides to give you an angle. It will look like this . . .
Once you have this angle flip it so that it will look like this . . .
Now you have an edge where you can line up your half square triangle ruler and finish cutting a triangle.
I hope this little tutorial will help you figure out what to do with your scraps. If you have any questions, please email me through the contact form on this blog. I will be happy to help.